Pen upgrade instructions
Below applies to ExamReader & ReaderPen upgrade.
Windows
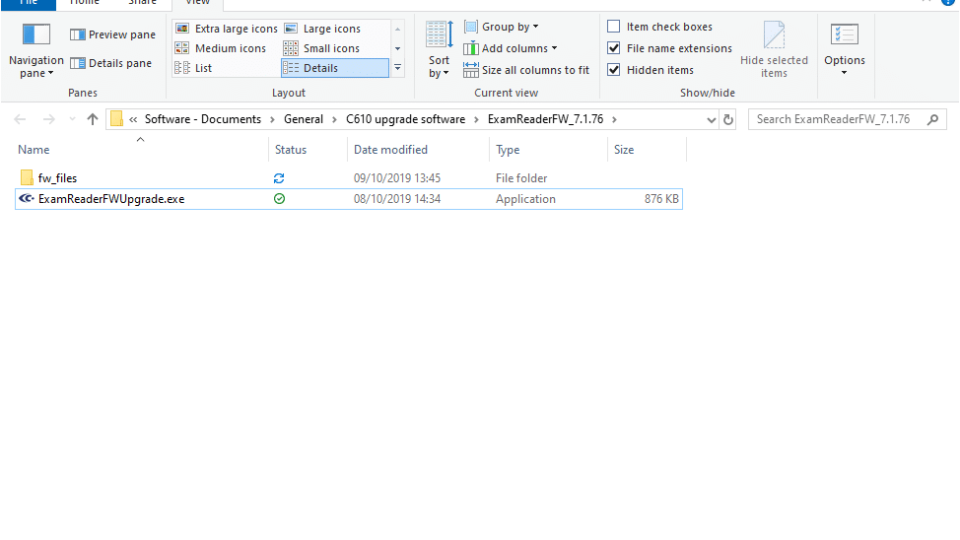
- Extract all files in the downloaded zip (HERE for ReaderPen and HERE for ExamReader).
- Run ExamReaderFWUpgrade.exe / ReaderPenFWUpgrade.exe and follow the instructions.
MAC & Linux
The .exe files are support program guiding you through the upgrade process. They are however Windows executables and do not run on MAC or Linux.
Instead, copy the upgrade files manually.
Phase 1
Extract all the files from the zip.
Phase 2
Make sure your ExamReader or ReaderPen current software version is compatible with your upgrade.
Check HERE for ExamReader and HERE for ReaderPen.
Phase 3
Connect your pen to your computer USB port.
ReaderPen
Select U-disk on ReaderPen screen and press OK button and ReaderPen will show up as a disk on your computer.
ExamReader
Power on and navigate to Settings\System Information\Version and press MENU button. Now, ExamReader will show up as a disk on your computer.
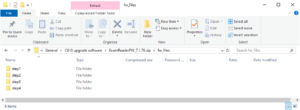
Enter folder fw_files (as in the image above).
Copy the files in subfolder step1 to the pen. Just the files inside the subfolder – *NOT* the folder.
Phase 4
Detach ExamReader from the computer.
ReaderPen
Navigate to Settings\Software upgrade Select U-disk on ReaderPen screen and press OK button and ReaderPen will show up as a disk on your computer.
ExamReader
Press OK button rapidly three (3) times. This will trigger upgrade.
Phase 5
Repeat Phase 3 & 4 using files in subfolders step2, step3, step4, etc.
If a folder is empty, you are done.


